Order scan integration
Introduction
The automatic prescription scan offered by POSOS can be accessed either:
- In the form of a call to an application offering a complete import and validation interface to the prescription (Scan & Go)
- In the form of an API call
The information below details the integration of the complete application prescription import and validation application, to integrate directly via API, please go to dedicated documentation dedicated
How does it work?
Integration relies on a succession of HTTP calls made from a web browser.
Initial call
The session begins with a call from the workstation to the partner-connect API, with a set of contextual parameters determining the request being made (which functionality, which parameters), identifying the user (via his RPPS) and the structure making the request (via an authentication token)
Security
the API responds with a unique, secure URL to which the browser is redirected
Redirection
Redirect user or open URL to Scan & Go interface
The transcription result is then sent to your software via a specific flow (FHIR, PN13 or dedicated API) explained in prescription-import documentation.
Context call URLs
The basic url is https://api.{env}.posos.co where {env} is the following environment: preprod for validation, production for live.
https://partner-connect.preprod.posos.coGood to know: The service account private key is different for each environment. We’ll send you the
productionkey once testing is complete.
Getting an identity token
See Identity token authentication
Detailed operation
This API retrieves a URL to the Scan & Go interface. See Scan & Go API documentation to understand the parameters to be sent.
Two pathways exist:
- Standard pathway: The contextual call returns the URL of an interface allowing the submission and validation of a prescription.
- Pathway with pre-imported files: The contextual call is made by immediately attaching files to be transcribed and returns the URL of an interface for prescription validation.
The main difference between the two pathways lies in the parameters to be sent. The second pathway requires the files to be sent in base64. Detailed parameters can be found here [Scan & Go API Reference] (/en/apis/reference/partner-connect/scan-go#corps-de-la-requête).
Example call
POST https://partner-connect.preprod.posos.co/api/partners/patient/scan-token
Authorization: Bearer <token>
Content-type: application/json

{
	"first_name": "John",
	"last_name": "Carter",
	"rpps": "abcde1234",
	"facilitySlug": "hopital-demo",
	"patientId": "123456"
}
Scan & Go application
Prerequisites
The URL opens a web application based on a NextJS / ReactJS technical stack. It requires the use of a browser or a recent webview. Compatible versions are :
- Chrome 64+
- Edge 79+ version
- Firefox 67+ version
- Opera 51+
- Safari 12+
Application experience
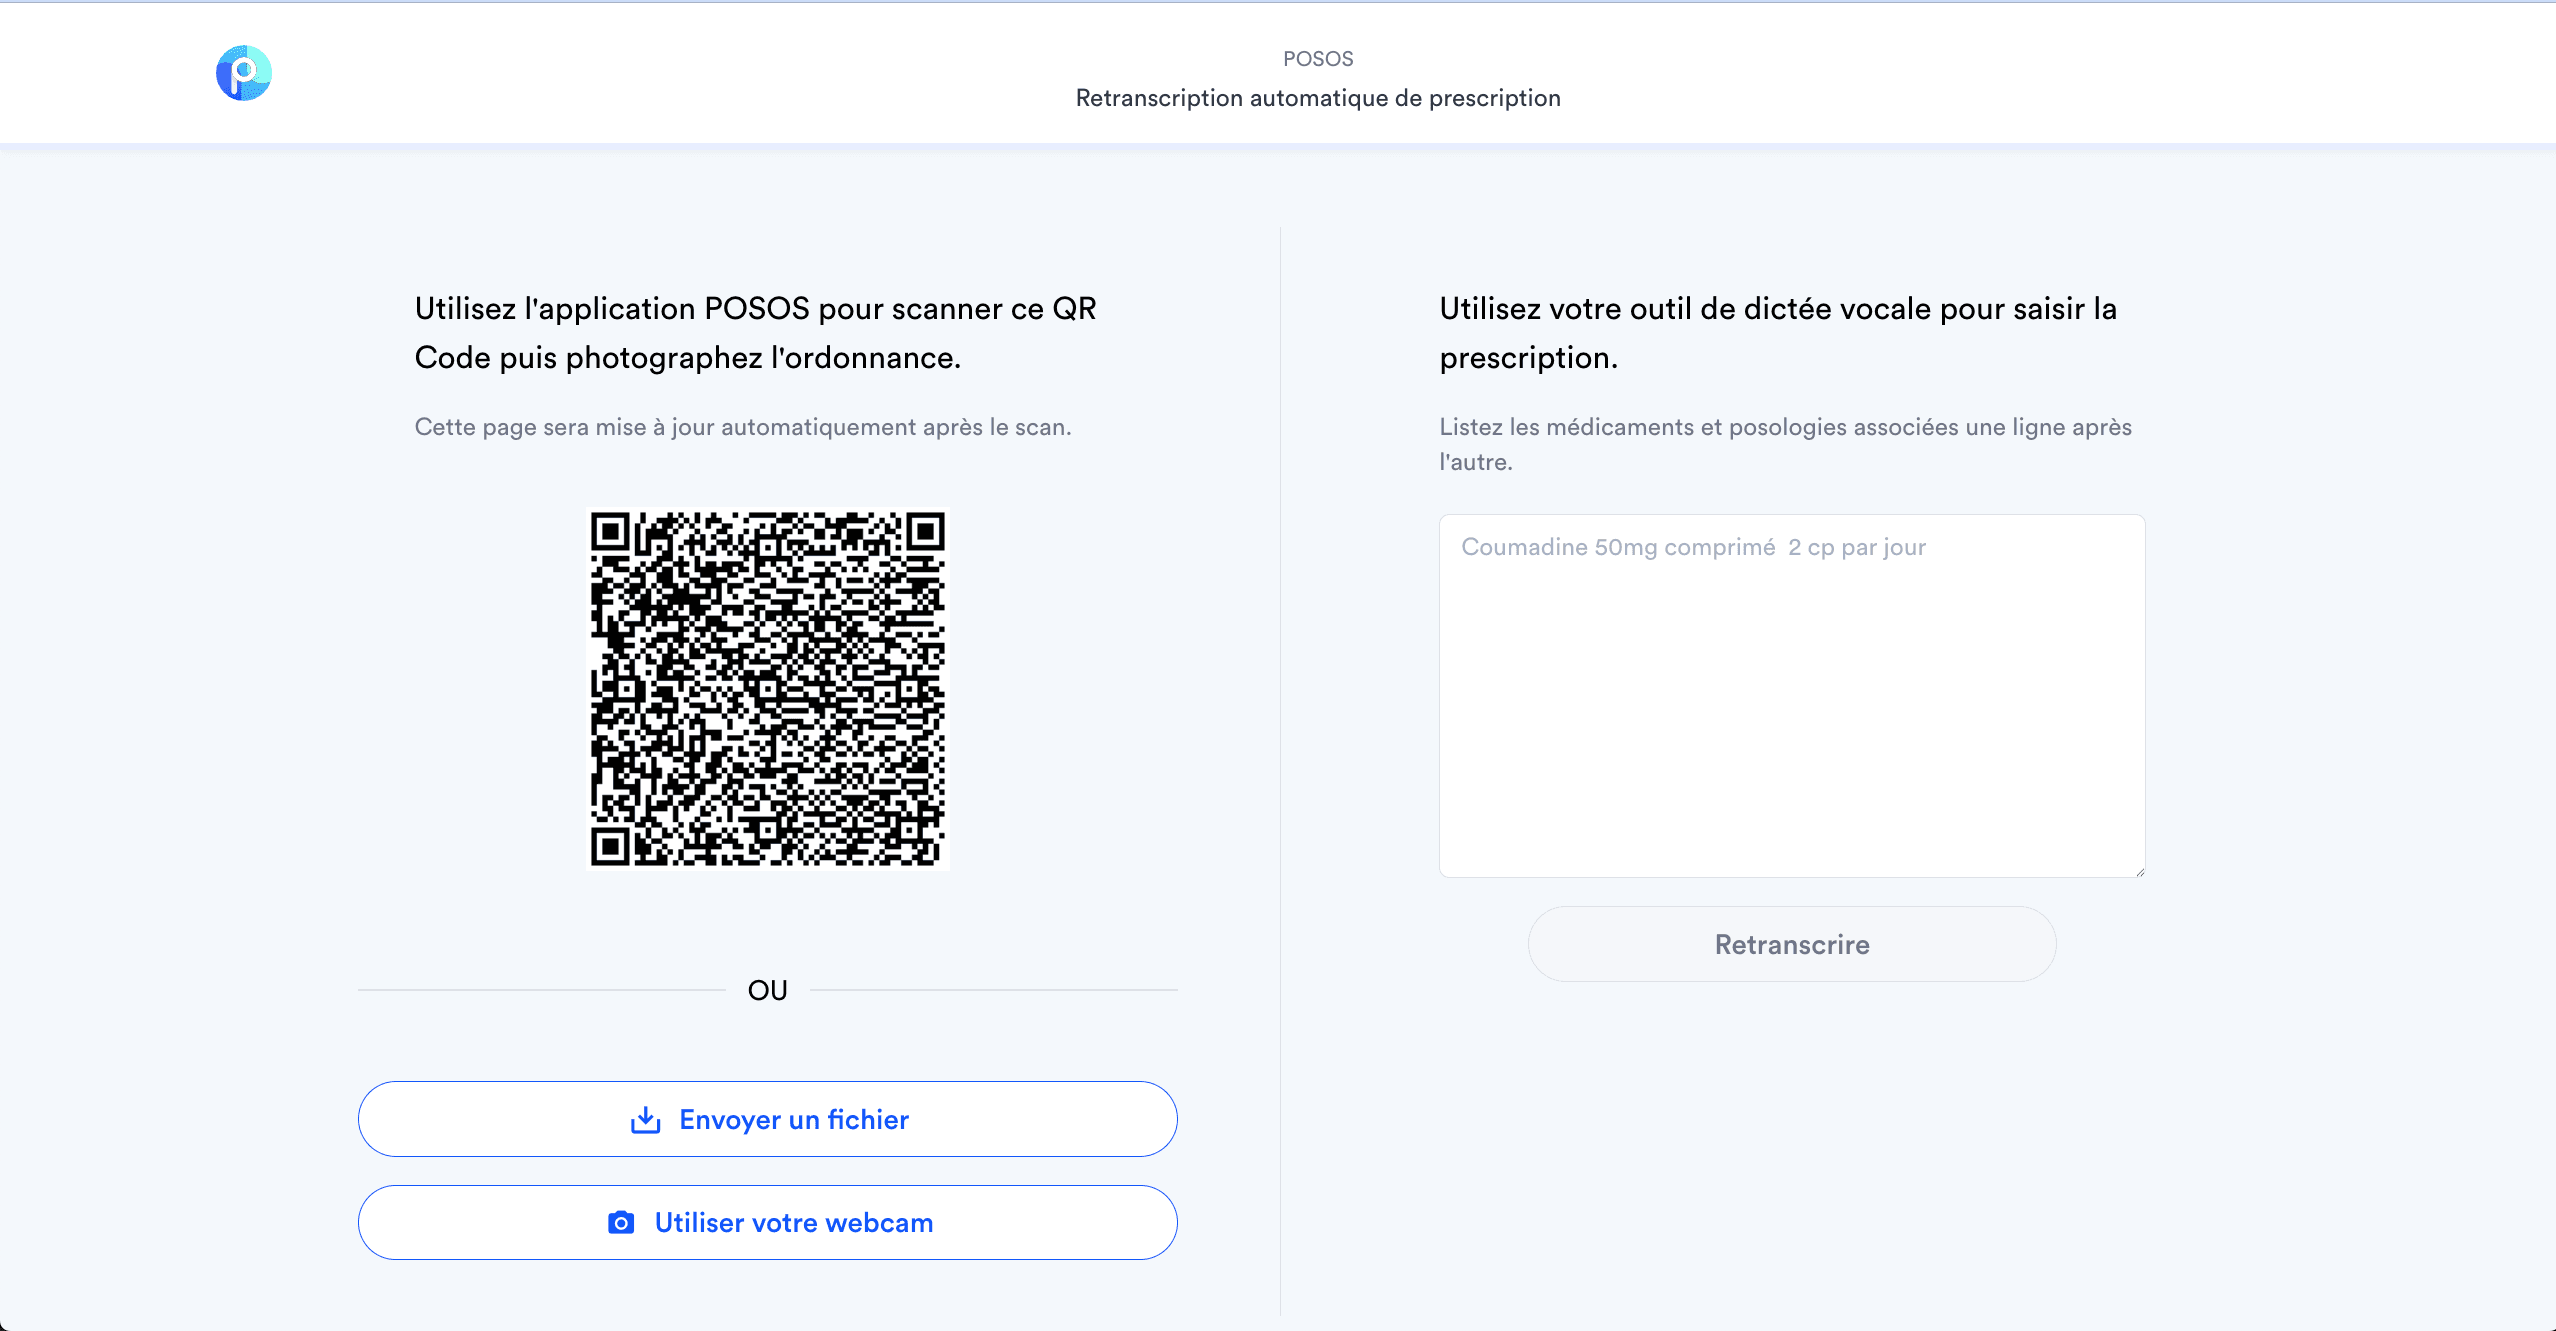
Import screen
This screen shows the options for sending the document to be transcribed.

For “QR Code + Application” usage ask your technical contact to activate the QR code scan functionality.
- By QR Code + Application: the user opens Posos application on their smartphone, presses “scan a prescription” then is prompted to scan the QR Code and then their prescription.
- Drag-and-drop file upload: to send files stored locally on the workstation.
- Webcam photography: to use the workstation’s webcam to photograph a document.
- By typing: to use a voice dictation tool or copy and paste from another interface.
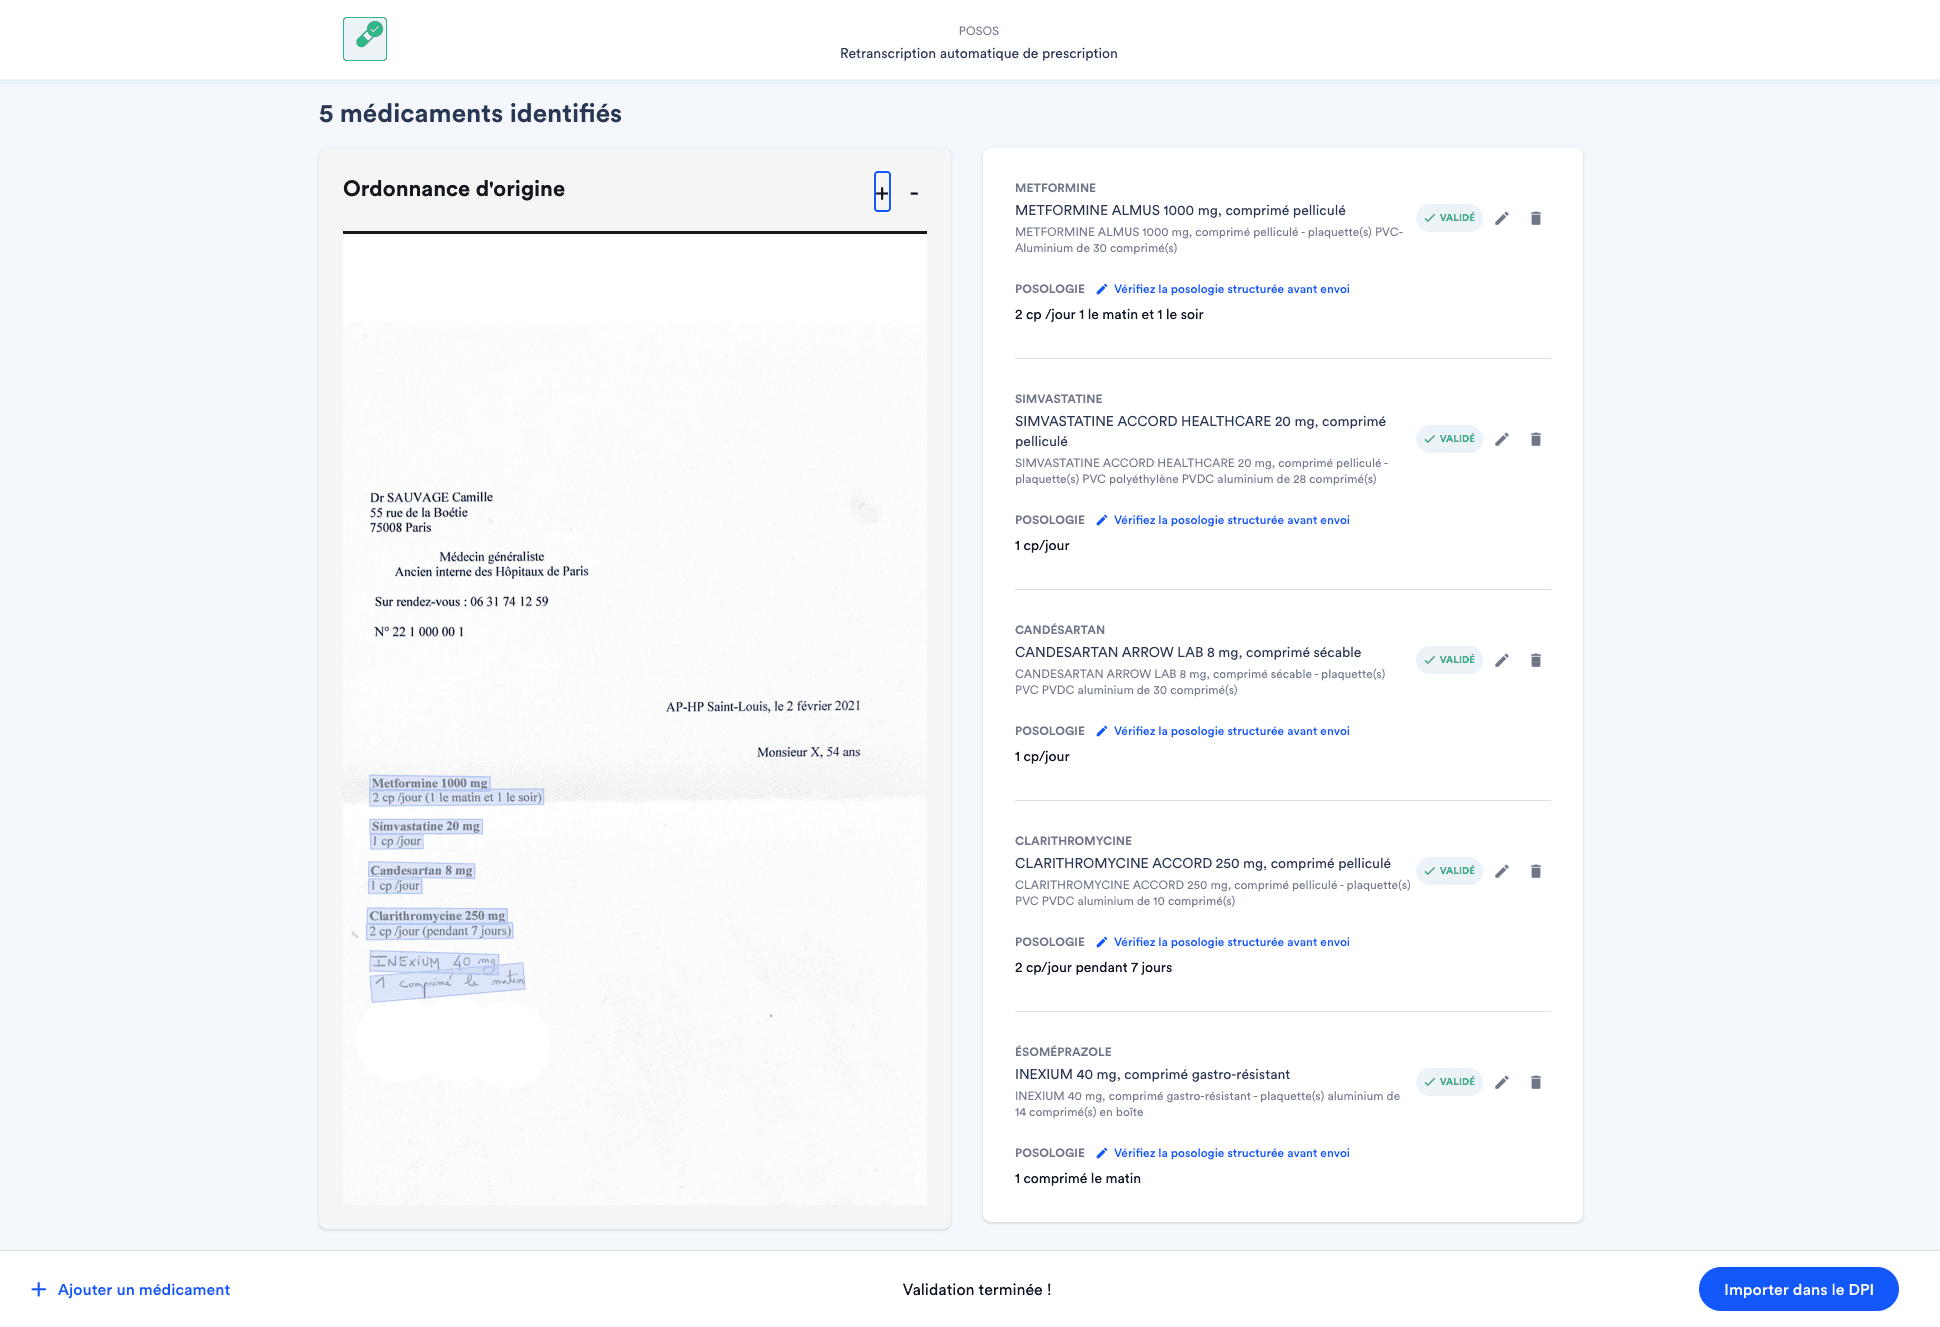
Validation screen

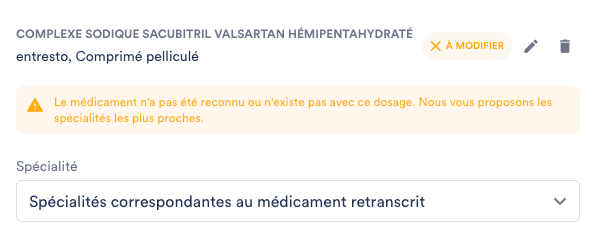
On this screen, the user is invited to check each prescription line and specify the specialty and presentation, if applicable. They can also update structured dosages, and add or remove drugs.
Verification of the scan result is facilitated by the display of the source prescription on the left-hand side. We highlight the lines of medication and dosage interpreted by our scan, allowing the user to identify any missing elements at a glance.
If a medication is incomplete during our transcription, the export to the DPI is blocked, and the user is prompted to complete the identified medication.

Confidence Score
For each structured dosage line, we calculate a confidence score. The interface behavior is adjusted based on this score, divided into 3 confidence levels (High, Medium, Low).
- A High confidence dosage, being inherently reliable, has no impact on the current scan result.

- A Medium confidence dosage, being structured with more uncertainty, visually prompts the user to verify the dosage structure.

- A Low confidence dosage, most likely incorrectly structured, forces the user to open the dosage structuring window before importing the prescription into their DPI.

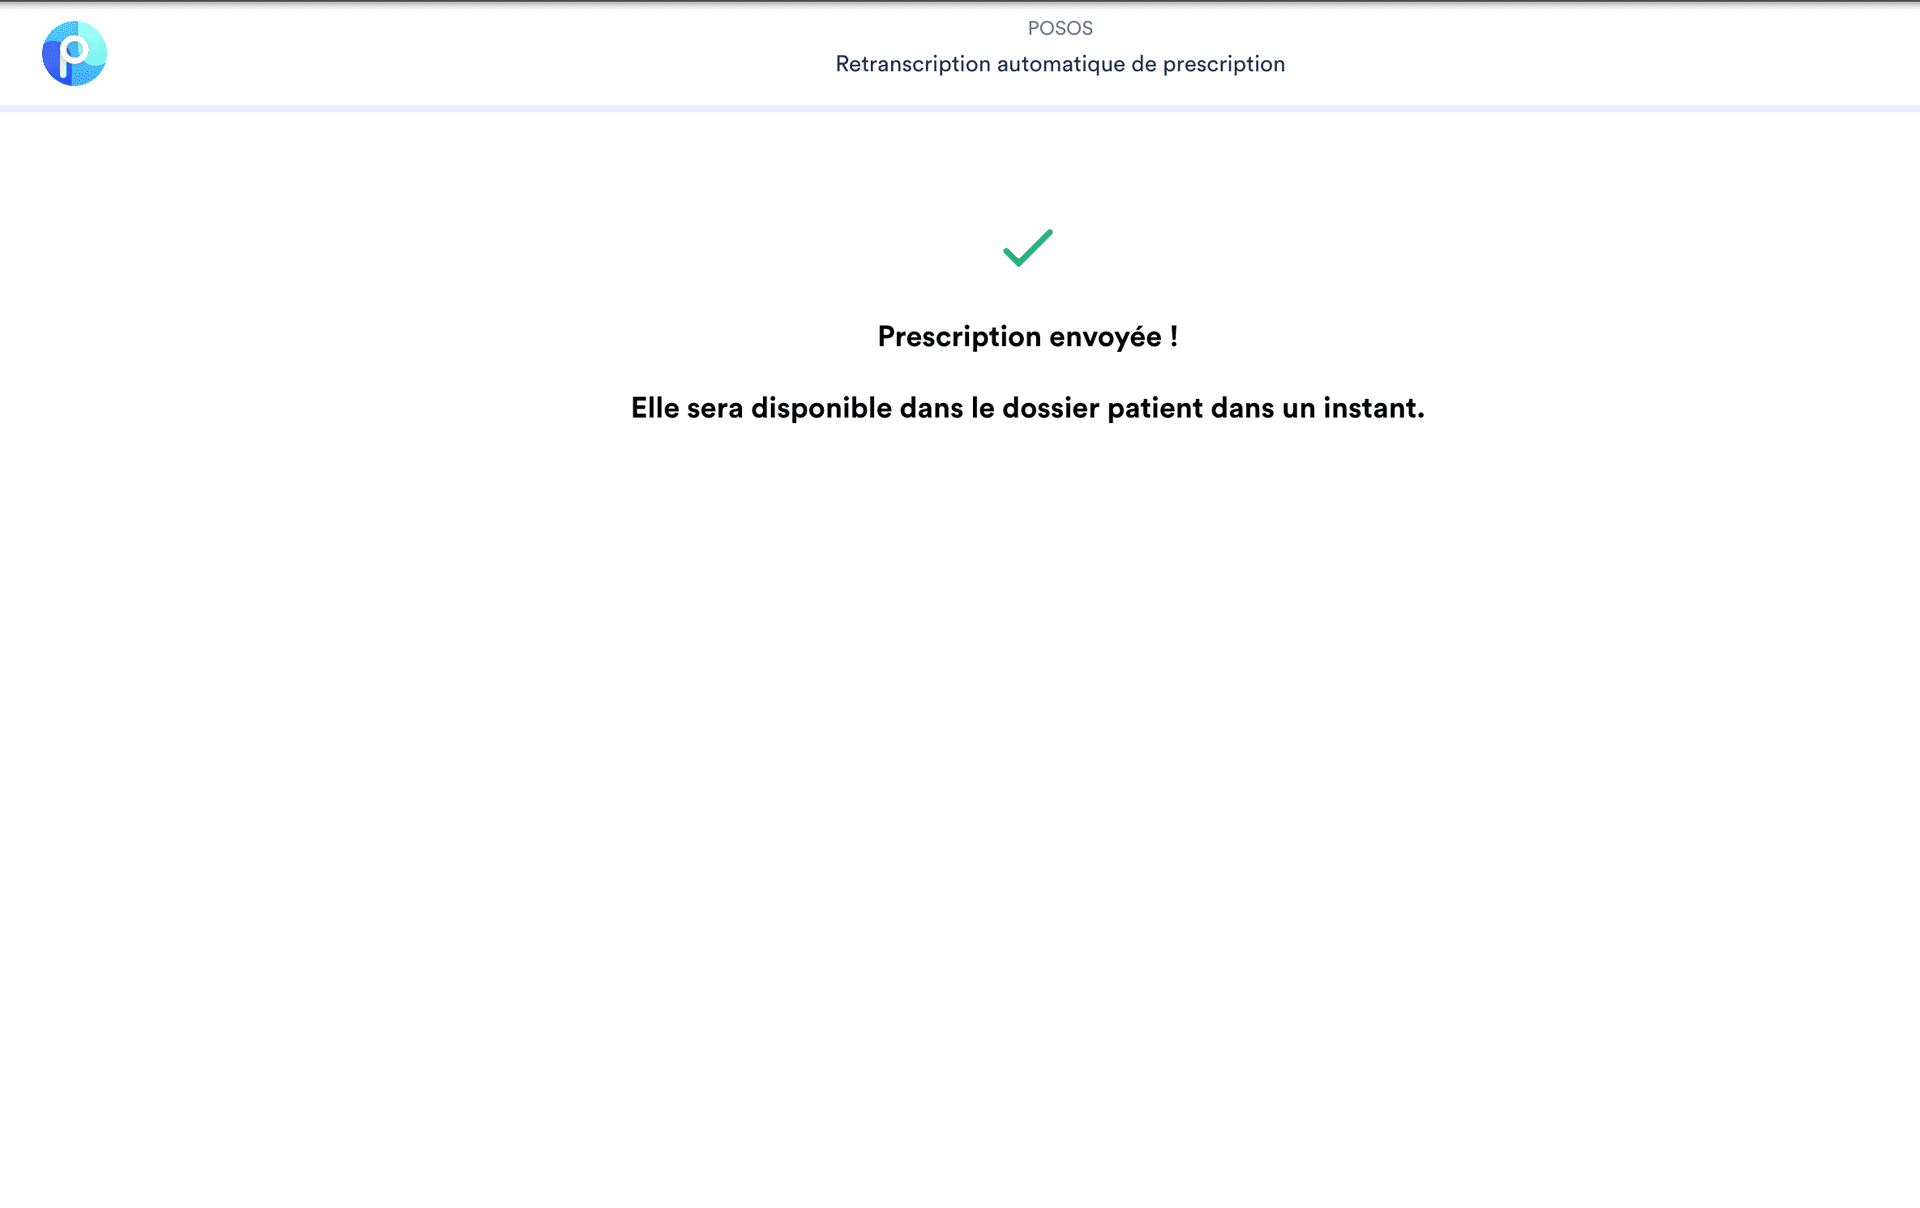
Send to DPI screen
Clicking on “Import to DPI” will trigger the sending process to your software.

Notification of import completion
Your software will be notified of the end of the prescription import in one of two ways. Depending on how you’ve integrated the application, you can choose either of the following methods:
Good to know: this notification allows you to update your user interface, while waiting for the prescription data stream (via FHIR call or push, depending on the integration mode you’ve chosen).
iframe or popup
Browsers allow communication between different iframes or popups via the window.postMessage API. Your software must listen to the messages sent by Posos application and react accordingly. Here’s the format of the messages sent:
| Attribute | Type | Description |
|---|---|---|
status | string | ok or error if the import failed on Posos side. prescription will be absent if error |
prescription | object | The imported prescription |
Here’s an example code:
const callback = function (event) {
  const origin = event.origin || event.originalEvent.origin;
  if (origin !== "https://scan-complete.preprod.posos.co") {
    return;
  }
  if (event.data?.status) {
    if (event.data.status === "success") {
      // Import successful
      // event.data.prescription is the prescription
    } else {
      // Import failed
      // event.data.prescription is not defined
    }
  }
};

// Compatibility with IE8 / IE9 + other browsers
const eventFunction = window.addEventListener
  ? "addEventListener"
  : "attachEvent";
const listener = window[eventFunction];
const eventName = eventFunction == "attachEvent" ? "onmessage" : "message";

listener(eventName, callback);
Change page URL method
This method modifies the page URL. #success or #error depending on the import result.